

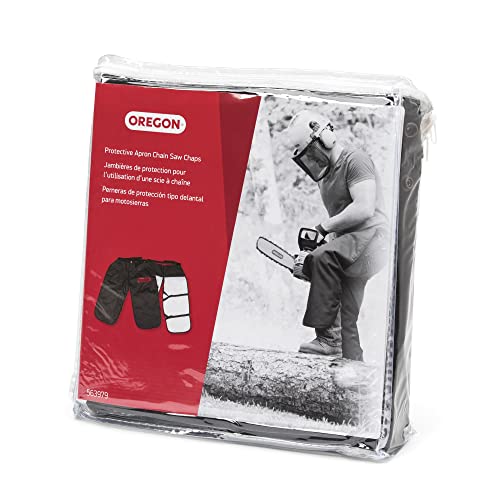


How do you keep chainsaw chaps protective?
Chainsaw chaps stay protective when their cut-retardant fibers are clean, dry, undamaged, and free of anything that coats them. Because those fibers stop a chain by pulling out and jamming the sprocket, anything that stiffens, saturates, or shreds them — bar oil, fabric softener, heat, or a previous cut — reduces the protection you are counting on.
Treat chaps as consumable safety equipment with a real service life, not a buy-once accessory. A few simple habits around washing, inspection, storage, and replacement keep them working the way their certification promises.
How do you wash chainsaw chaps without ruining them?
Wash chaps in cool or lukewarm water on a gentle cycle, using a small amount of mild detergent. Skip fabric softener and bleach entirely — softener leaves a coating that can stop the fibers pulling free, and bleach degrades them. Fasten all the buckles first so straps don't snag the shell in the drum.
Air-dry chaps flat or hung, out of direct high heat, because a hot dryer can damage both the outer shell and the protective layers. Never dry-clean them, as the solvents attack the fibers. If bar oil has soaked in, spot-clean it promptly, since oil that sets into the pad is very hard to remove and compromises that section.
What should you check before every use?
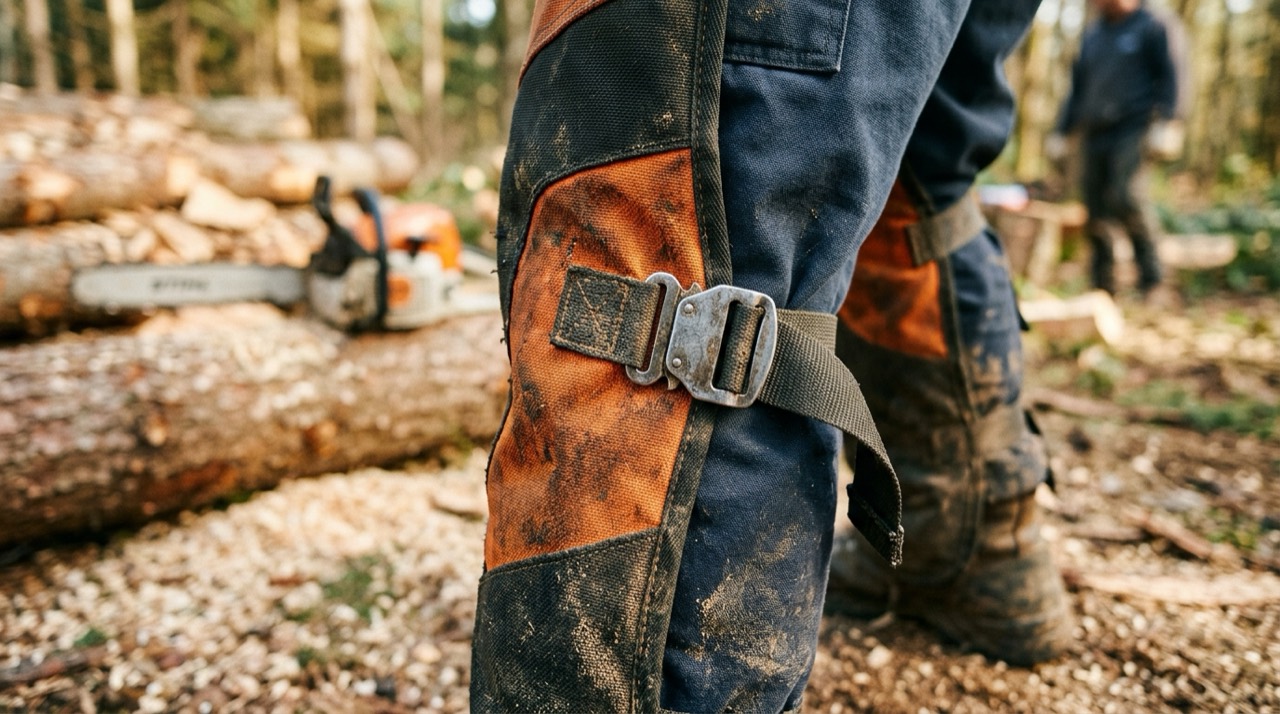
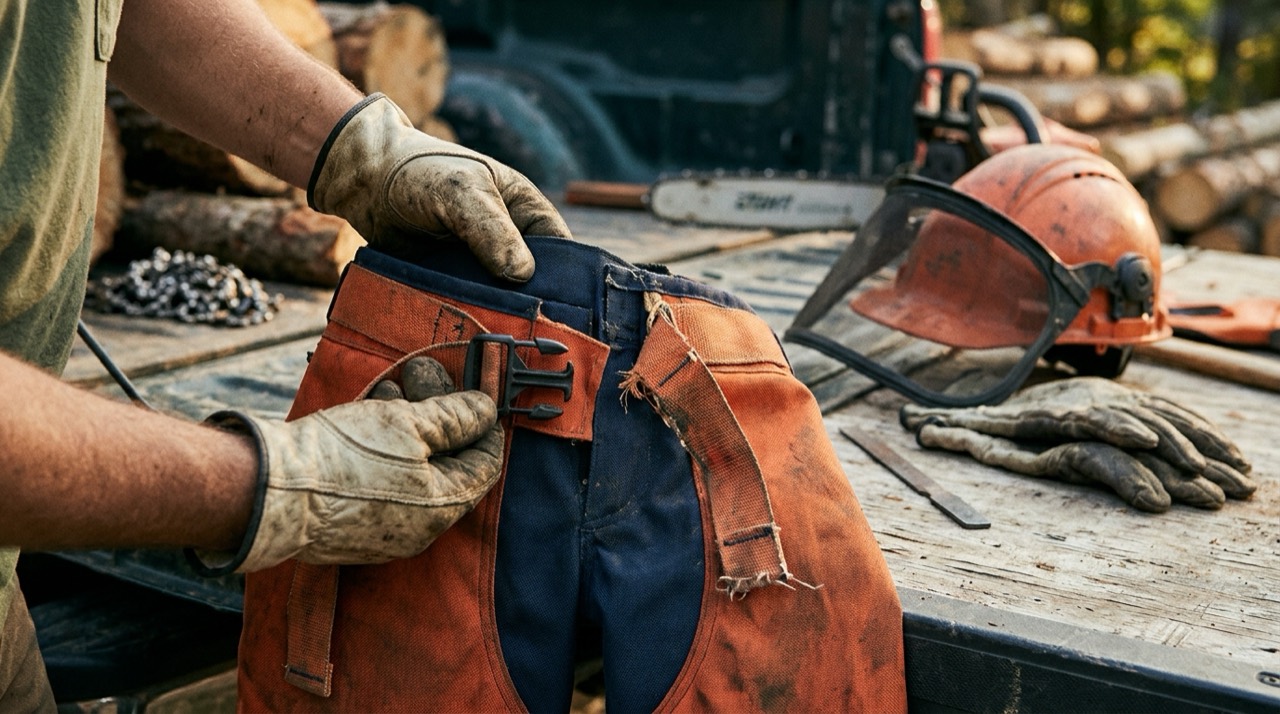
Inspect chaps before every session, working top to bottom. Look for cuts or nicks in the outer shell, exposed or matted protective fiber, thin or worn patches, oil saturation, and frayed stitching. Confirm that every buckle, strap and clip still closes firmly and holds tension.
The quick pre-use checklist below covers exactly what to look for:
- Scan the shell for cuts, holes, or abrasion that exposes the inner fiber.
- Squeeze the pad to feel for stiff, matted, or oil-soaked areas.
- Confirm the buckles, webbing and clips fasten and hold.
- Check the length still reaches from waist to boot top with no gap.
- Retire the chaps if anything fails, rather than getting "one more job" out of them.
When should you replace chainsaw chaps?
Replace chaps immediately after any chain contact, even a light nick — the fibers in that spot have done their one job and no longer protect. Retire them too when the shell is torn, the pad is oil-soaked, stitching is failing, or worn patches appear. There is no safe way to repair the protective layers.
Manufacturers don't set a fixed expiry date, so treat heavily used chaps as a wear item and re-buy when inspection shows damage. Pairing replacement with your regular chainsaw maintenance routine — sharpening, chain checks, and bar care — keeps both the saw and your safety gear in ready condition.
How long do well-kept chainsaw chaps last?
Undamaged, well-stored chaps can stay serviceable for years, because the protective fibers don't have a shelf life the way some gear does — damage, not the calendar, ends their working life. A homeowner who cuts a few times a season may keep the same pair for a long time, while frequent professional use wears the shell, buckles, and stitching far faster.
There is no fixed inspection interval set for homeowner chaps, so the pre-use check is your safety net. Note any incident, and retire a pair the moment its protection is genuinely in doubt rather than stretching it one more job. When you're unsure, replace them — a new pair costs far less than a single leg injury or the emergency-room visit that follows one.
Why does fabric softener ruin chainsaw chaps?
Fabric softener ruins chaps because it leaves a waxy coating on the cut-retardant fibers, and those fibers only protect you by pulling out freely to jam the saw. Anything that makes them slick, stiff, or bonded together can stop them deploying when a chain hits.
The protection depends on long, loose strands being dragged out cleanly and wrapping the drive sprocket in an instant. Softener films the strands and can bind them, blunting that pull-and-jam action; bleach is worse still, chemically degrading the fiber itself. The same logic rules out dry-cleaning, whose solvents attack the layers. This is why the washing rule for chaps is so restrictive: cool water, a little mild detergent, no softener, no bleach, no solvents. Treat the cut-retardant pad as a mechanism rather than ordinary fabric, and you'll understand why routine laundry-aisle products are exactly what to keep away from it.
How do you remove bar oil, sap and dirt from chaps?
Remove contaminants promptly and gently, blotting rather than scrubbing, because bar oil and sap that set into the protective pad are very hard to shift and can compromise that section. Fresh spills come out far more easily than soaked-in stains.
Handle the common contaminants like this:
- Blot fresh bar oil immediately with a cloth, then spot-clean with cool water and a little mild detergent.
- Lift tree sap by chilling it, then working only the outer shell rather than soaking the protective pad.
- Brush off dried mud and sawdust before washing, so grit doesn't grind into the fabric.
- Wash the whole chap in cool water on a gentle cycle if spot-cleaning isn't enough.
- Inspect the treated area once dry — if it stays stiff, matted, or saturated, treat the chaps as due for replacement.
Oil is the real enemy here: a pad that stays oil-soaked after cleaning has lost protection in that zone, so store chaps well away from bar and chain oil in the first place.
What does chap damage look like, and how bad is too bad?
Chap damage that ends protection looks like any cut, hole, or worn spot that exposes or thins the inner fiber, plus matted or oil-saturated patches where the strands can no longer pull free. Cosmetic scuffs on the shell are fine; anything reaching the protective pad is not.
Learn to tell the two apart. Surface abrasion, faded colour, and minor snags on the outer polyester don't affect the mechanism and are normal with use. What retires a chap is fiber you can see or feel through a cut in the shell, a section that stays stiff and matted after cleaning, oil that has soaked deep into the pad, or stitching and buckles that no longer hold the garment in place. Any chain contact, even a light nick, ends the life of that section outright. When you're unsure whether damage is cosmetic or structural, err toward replacement — the whole point of chaps is a margin you can rely on, and a doubtful pair no longer provides it.
How do you dry chainsaw chaps safely?
Dry chaps by air only — laid flat or hung out of direct heat and sunlight — because a hot dryer can damage both the outer shell and the cut-retardant layers that stop the chain. Heat is one of the few everyday things that quietly degrades the protective fabric.
After washing, shake the chaps out, fasten the buckles so straps don't tangle, and hang them or lay them flat in a ventilated spot. Keep them away from radiators, wood stoves, and long spells of direct sun, since sustained heat and UV both shorten fiber life. Make sure the protective pad is fully dry before storage, because trapped damp encourages mildew and can stiffen the layers. Never tumble-dry on heat and never dry-clean. Patience here costs nothing and preserves the exact property — loose, intact fibers — that makes the chaps protective in the first place.
Can you repair chainsaw chaps, or must you replace them?
You can't safely repair the protective layers of chainsaw chaps — once the cut-retardant fibers are cut, matted, or oil-soaked, that section is spent and the chaps must be replaced. There's no home fix that restores the pull-and-jam action the fibers provide.
Minor cosmetic repairs to the outer shell, like re-stitching a loose hem or replacing a broken buckle, are acceptable as long as they don't touch the protective panel and the fabric underneath is undamaged. But patching a cut, gluing torn fibers, or sewing through the pad all interfere with how the strands deploy and can create a false sense of safety. Because manufacturers don't provide a way to renew the inner layers, treat chaps as consumable: repair only the hardware and shell, and retire the whole garment the moment the protective fabric is compromised. Pair replacement with a wider gear check during routine chainsaw maintenance.
How should you store chaps between jobs?
Store chaps clean, dry, and loosely folded or hung, somewhere cool and out of sunlight. UV, heat and damp all shorten fiber life, so avoid leaving chaps in a hot truck cab or on a damp shed floor. Keep them away from fuel and bar and chain oil so nothing soaks the pad while it's stored.
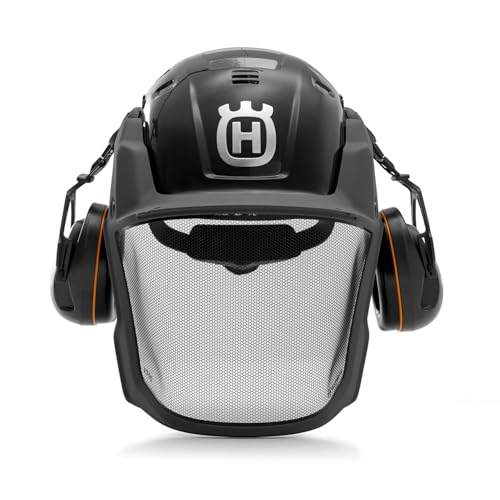
Storing chaps with the rest of your chainsaw PPE — helmet, gloves and muffs — also makes it far more likely you'll actually put every layer on before the saw starts. If you're choosing between formats, our chaps vs pants comparison explains how each is cared for.