

What makes a good rack for firewood?
A good rack for firewood keeps the wood off the ground, lets air flow through the stack, and stays upright under a heavy load. The frame should resist rust, the feet should be wide enough not to sink, and the length should match how much wood you season each year.Firewood needs three things from its storage: clearance from wet soil, airflow around every split, and a stable base so a leaning stack doesn’t topple. A rack delivers all three at once. Bare ground contact wicks moisture back into wood you spent months drying, while a rack lifts the pile into moving air. A good rack also has to survive its own load — a full 8-foot row of green hardwood can weigh several hundred pounds, so the joints, welds, and feet are what separate a rack that lasts a decade from one that folds in a season. If you would rather buy than build, the best firewood racks compared covers the models most owners stay happy with.
How big a firewood rack do you need?
Match the rack to your yearly burn. A rough rule is that a full cord fills a rack about 8 feet long, 4 feet high, and 16–24 inches deep. Occasional fireplace users often need only a 4-foot rack, while wood-stove households burning several cords want two or more 8- or 12-foot racks.Firewood is measured by the cord, and the terms trip people up. The three worth knowing are listed below.
- Full cord — a stacked pile about 4 ft × 4 ft × 8 ft, roughly 128 cubic feet.
- Face cord (rick) — a single row 4 ft high and 8 ft long, as deep as the splits are long (commonly 16 inches).
- Rack length — the number that actually sets capacity, since most racks share a similar height and depth.
Buy a little more length than you think you need. Wood stacks faster and stands more stably when a rack isn’t crammed, and you will want room for next season’s delivery. It also helps to think in seasons rather than single deliveries: many households run two racks and rotate them, burning from the older, fully seasoned stack while the newer one dries. That rotation is far easier when each rack is sized to hold a clean season’s worth on its own, so total rack length matters more than any single frame.
What should a firewood rack be made of?
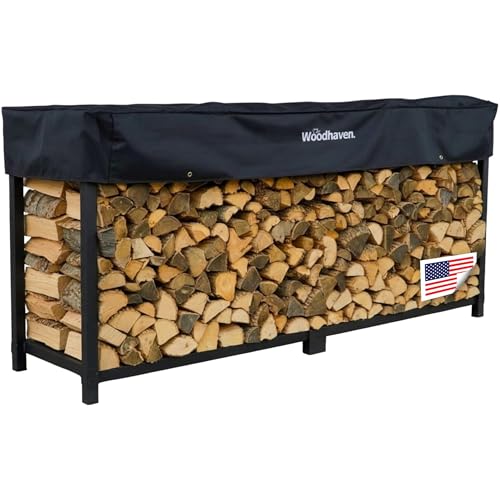
Steel is the standard for outdoor firewood racks because it carries heavy loads in a slim frame and resists weather once it is powder-coated. Tubular or angle steel with a baked-on finish shrugs off the rust that eats cheaper painted racks after a season or two.Frame material matters more than any other spec. Reviewers repeatedly report that thin, lightly painted racks bow in the middle and rust at the welds, while powder-coated steel from brands such as Woodhaven and Landmann holds its shape for years. Pressure-treated 4×4 posts also work well and cost little, especially with a bracket kit that lets you set your own length. Whatever the material, look for wide feet or cross-braced legs so a loaded rack cannot sink into soft ground or tip forward.
The finish deserves as much attention as the metal underneath it. Powder coating is baked on and far tougher than the spray paint on many budget racks, but any coating can chip where splits scrape it or where the feet grind on gravel. Those chips are where rust starts, so a quick dab of exterior enamel on a bare spot each autumn adds years to the frame. Wood-framed racks have the opposite failure mode: they don’t rust, but untreated timber left in ground contact rots from the base up, which is why pressure-treated lumber and a gap under the bottom rail matter so much.
Where should you put a firewood rack?
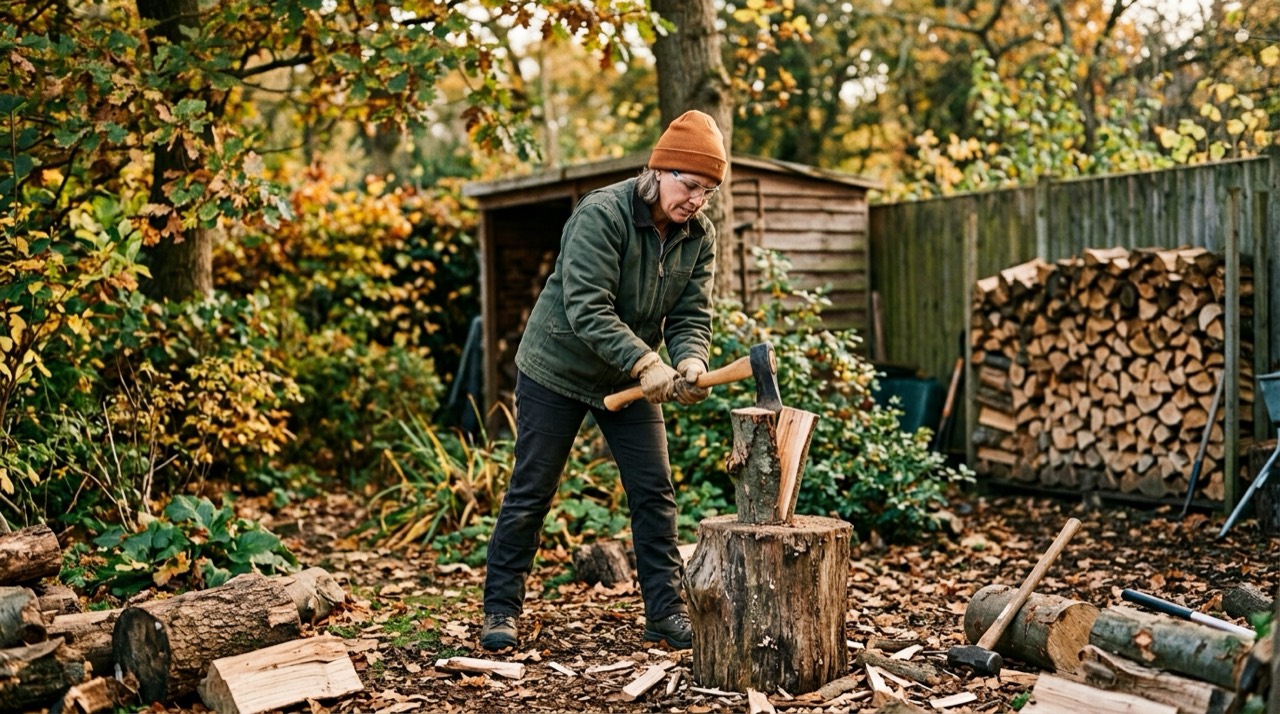
Set the rack in a sunny, breezy spot a short walk from the door, and keep it a few feet clear of the house wall. Sun and wind drive off moisture, distance from the wall discourages insects from moving indoors, and a nearby path means you will actually use it in winter.Placement balances seasoning against convenience. A rack in full sun and open wind dries wood fastest, which matters most when you are seasoning green splits. It also belongs alongside the rest of your wood-processing setup so bucking, splitting, and stacking happen in one place. Never store large quantities of firewood tight against the house long-term, since it guides termites, carpenter ants, and rodents toward the structure. A practical compromise many people use is a large seasoning rack out in the open where the wood dries, plus a small carrier or hearth rack holding a day or two of wood by the door — you keep the convenience without turning the wall of the house into a pest highway.
Do firewood racks need a cover?
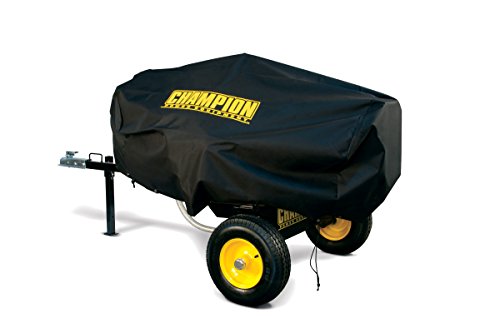
Cover only the top of the stack, not the sides. A lid or cover that sheds rain and snow off the top keeps the pile dry, but wrapping the whole rack traps moisture and kills the airflow that seasons and preserves the wood. Many racks offer a matching top cover or an adjustable full-length cover as an add-on.The goal is a roof, not a bag. A tarp draped to the ground turns a rack into a damp box where wood greys and molds instead of drying. Leave the ends and lower sides open to the wind, and slope any cover so water runs off the back. Whether you need a cover at all depends on climate: under a deep eave or in a dry region an uncovered stack often seasons perfectly well, while in a wet or snowy climate a sloped top cover keeps the burnable top row from staying soaked all winter.
What other firewood tools do you need?
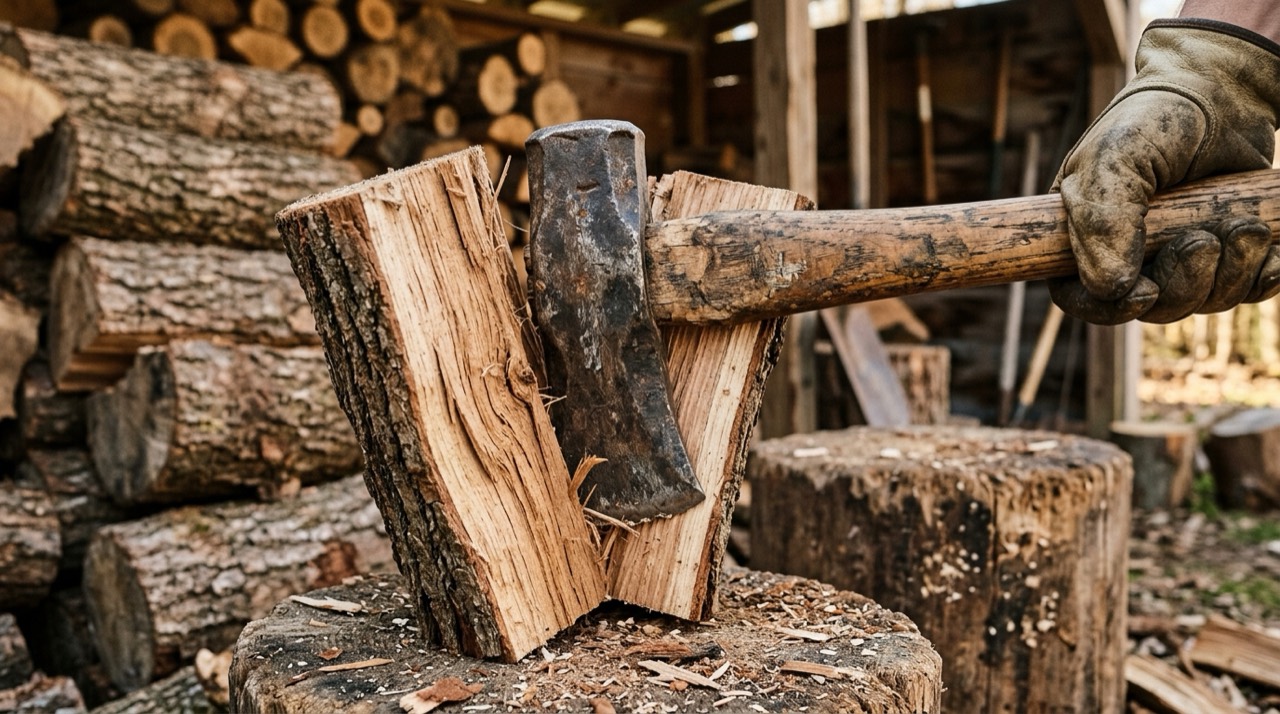
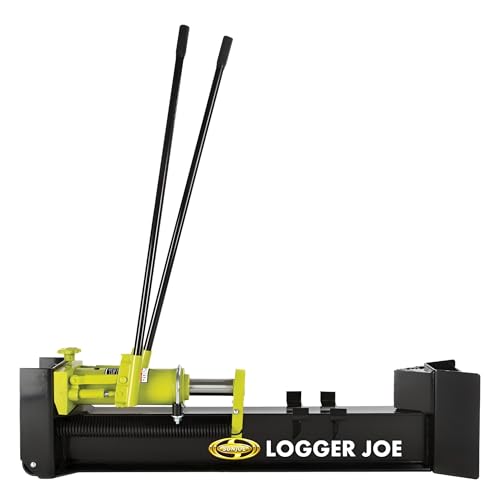
Beyond the rack, a moisture meter, a cant hook or log tongs, and a sturdy carrier make firewood work faster and safer. The meter tells you when wood is dry enough to burn, the hook rolls and lifts logs without a bent back, and the carrier cuts trips from rack to hearth.If you split your own rounds, pair the rack with a splitting axe or maul and a stable sawhorse or log stand for bucking. Households processing several cords a year often add an electric or gas log splitter to spare their shoulders. These tools turn a yearly firewood chore into a quick, repeatable routine. There is a sensible order to buying them, too: a moisture meter and a carrier pay for themselves first because they are cheap and used on every load, while heavy-log tools like cant hooks and a splitter make sense once you are handling full logs rather than pre-cut, pre-split delivered wood.
How do you know when firewood is seasoned?
Firewood is seasoned when its moisture content drops to roughly 20% or less, and a pin-type moisture meter on a freshly split face is the reliable way to confirm it. Seasoned wood also feels lighter, shows checks — cracks radiating from the centre of the cut end — and makes a hollow clack rather than a dull thud when two pieces are knocked together.Seasoning is simply drying, and the numbers explain why it takes so long. Fresh-cut wood can be 40–50% water by weight, and it only lights easily and burns cleanly once that falls to around a fifth. Burning wood that is still wet wastes a large share of the heat boiling off water, produces more smoke, and deposits creosote in the flue — a genuine chimney-fire hazard. Because species, split size, and climate all change the timeline, treat any month figure as general guidance and let a meter, not the calendar, tell you when a stack is ready.
Which firewood dries and burns best?
Dense hardwoods such as oak, hickory, maple, and ash give the most heat per stack and burn longest, while softwoods such as pine, fir, and spruce season faster and light more easily but burn quicker and leave more resin. Matching species to the job — and to your patience — makes the whole firewood cycle easier.The trade-off is heat and burn time against how long the wood takes to dry. Oak is prized for long, hot burns but can need a year or more on the rack; ash and maple are more forgiving and season faster; softwoods can be ready in a single dry season and make excellent kindling and shoulder-season fires. Whatever the species, split rounds smaller to speed drying and expose more surface to the air. If you buy in log length and cut your own, a stable stand keeps the bucking on a sawhorse or log stand safe, and a splitting axe or maul turns the rounds into stove-sized splits.
What firewood-storage mistakes should you avoid?
The most common firewood mistakes are stacking on bare ground, wrapping the whole pile in a tarp, storing green wood against the house, and burning before it is seasoned. Each one either slows drying, invites pests and rot, or creates a fire risk, and all of them are easy to avoid once you know them.The recurring errors, and the fix for each, are listed below.
- Stacking on soil — the bottom row wicks moisture and rots; lift the pile on a rack, rails, or pavers.
- Full-tarp wrapping — trapped humidity greys and molds the wood; cover the top only.
- Wood against the wall — termites and ants bridge into the house; keep the main stack a few feet clear.
- Burning too soon — wet wood wastes heat and coats the flue with creosote; confirm about 20% with a meter first.
- Cramming the rack — jammed splits kill airflow and can bow the frame; leave finger gaps and don’t overload the middle.
How do you stack and use a firewood rack safely?
Stack splits level, keep the load within the feet, and never build a freestanding pile taller than about 4 feet. A loaded 8-foot rack can hold hundreds of pounds, so a stack that leans or overhangs its base can collapse onto whoever is loading it.A few habits keep the pile safe and dry:
- Level the ground or set pavers under the feet so the rack sits flat.
- Stack the ends in crisscrossed columns to lock the rows in place.
- Leave finger gaps between splits for airflow instead of jamming them tight.
- Wear gloves and closed shoes when loading, and lift with your legs.
Treat firewood storage as general guidance rather than a fixed formula. Seasoning times, insect pressure, and the right rack size vary with your climate, wood species, and how much you burn, so adapt these steps to your own yard.