
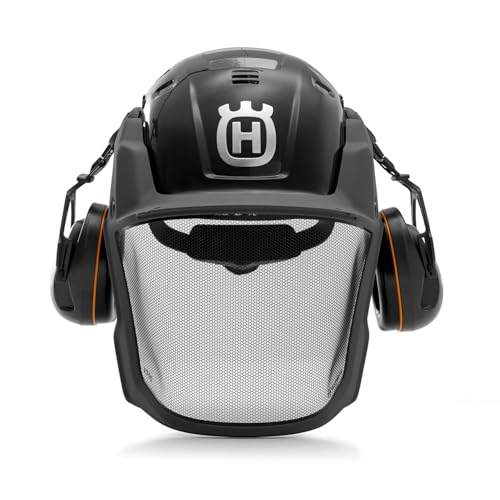


What is a chainsaw safety helmet?
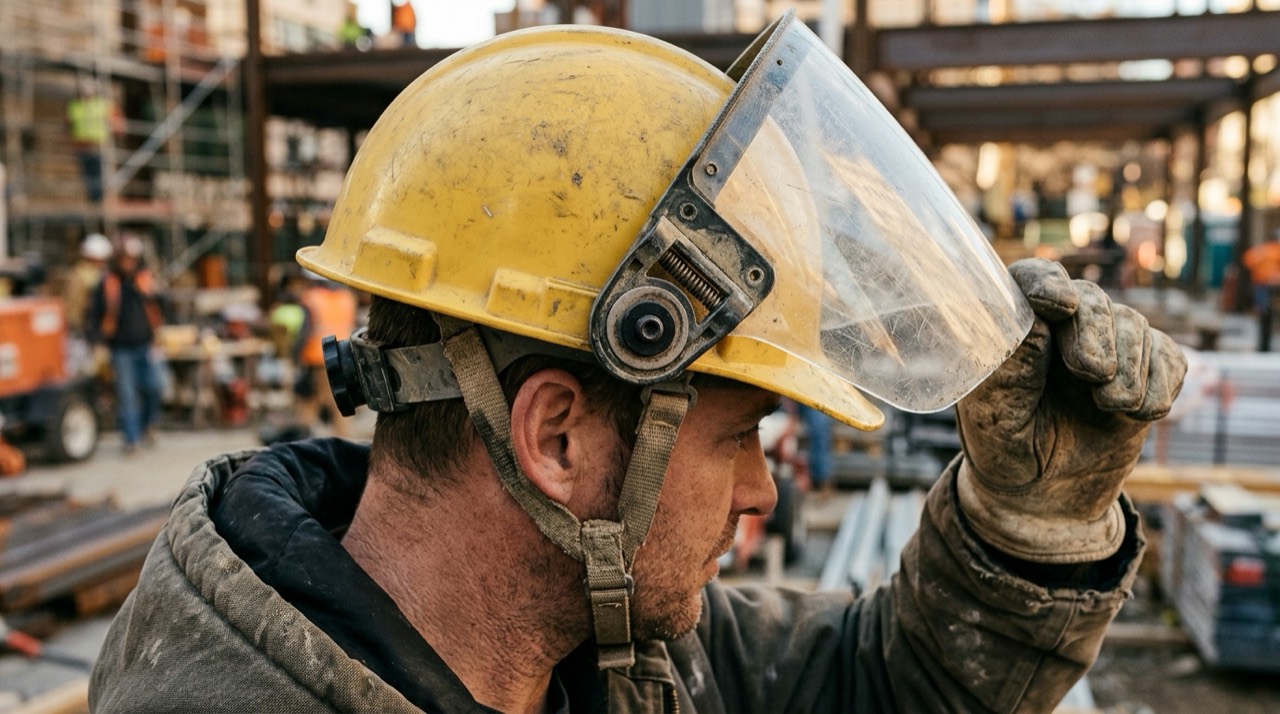
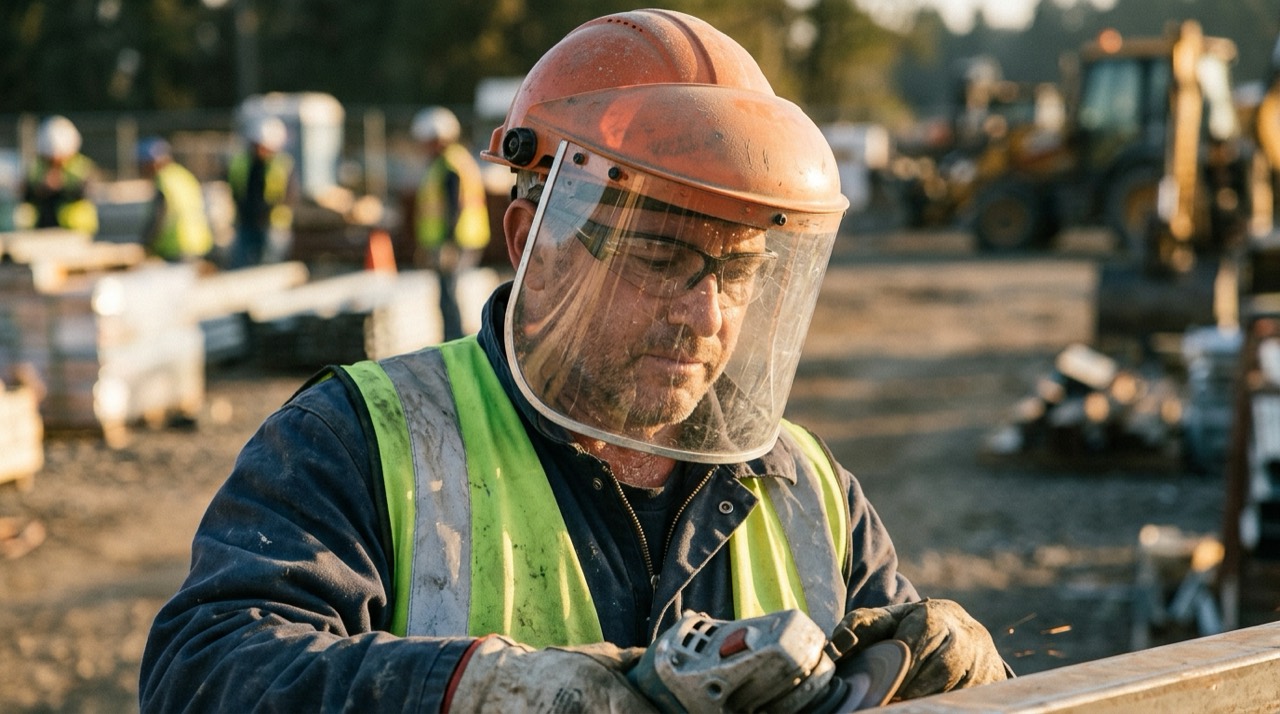
A chainsaw safety helmet is a three-in-one head-protection system that combines a hard hat shell, clip-on ear defenders, and a flip-down mesh visor in one unit. It guards against falling limbs, kickback, flying wood chips, and chainsaw noise at the same time.Forestry helmets are usually sold as a "combi" or "system" so the earmuffs and face screen mount straight onto the shell, keeping every part where it belongs while your hands are on the saw. A complete set typically weighs around 700–950 g and is built from UV-resistant plastic for all-day outdoor wear. For the leg, hand, and body side of the kit, see our guides to chainsaw chaps and PPE and cut-resistant work gloves.
Do you need a helmet to run a chainsaw?
You need a helmet any time there is a risk of something striking your head or of kickback near your face, which covers almost all chainsaw work except low, waist-height cutting on a stable bench. Falling branches, springback, and a kicked-up bar are the main hazards.Occasional homeowners bucking firewood on the ground with safety glasses and earmuffs can sometimes skip the shell, but the moment you cut anything overhead, on a slope, or under standing timber, a helmet becomes essential. Professional and employed cutters are generally required to wear one. When in doubt, put it on — a helmet costs far less than an emergency-room visit, and browsing our best chainsaw helmets roundup shows how affordable a complete system now is.
Which safety standards should a chainsaw helmet meet?
Look for a shell certified to ANSI Z89.1 (North America) or EN 397 (Europe), ear defenders to EN 352 with a stated Noise Reduction Rating, and a mesh visor to EN 1731. These marks confirm each part was independently tested for impact, noise, and face protection rather than simply claimed to work.The main standards decode like this:
- ANSI Z89.1 rates hard hats by Type (I for top impact, II for top and side) and electrical Class (G general, E electrical, C conductive/vented).
- EN 397 covers industrial helmets designed to pop off if snagged on a branch.
- EN 12492 covers climbing-style helmets with a retention chin strap, used by top-handle arborist saw operators working at height.
- EN 1731 covers mesh eye and face screens; EN 352 covers the earmuffs.
A mesh visor stops chips and branches but not fine dust or sap mist, so pair it with sealed safety glasses — the layering is covered in our hearing and eye protection guide.
How do the three parts of a forestry helmet work together?
The three parts divide the job: the shell absorbs impact, the earmuffs cut noise to a safe level, and the visor deflects debris — and each mounts to the same helmet so nothing is left behind. The table below shows what each part does and the standard it should carry.| Part | Protects against | Typical standard | What to check |
|---|---|---|---|
| Hard hat shell | Falling limbs, bumps, kickback | ANSI Z89.1 / EN 397 | Type, class, moulding date |
| Ear defenders | Chainsaw noise (~100–115 dB) | EN 352 / NRR | NRR or SNR figure, seal comfort |
| Mesh or clear visor | Wood chips, springback, twigs | EN 1731 / ANSI Z87.1 | Coverage, flip detents |
Chainsaws routinely produce around 100–115 dB at the operator's ear, well above the level that damages hearing over time, so the muffs are not an optional extra. Full detail on matching an NRR to your saw lives in the hearing and eye protection guide.
How should a chainsaw helmet fit?
A chainsaw helmet should sit level and snug, with the suspension adjusted so the shell cannot rock or tip when you look up. A ratchet or wheel adjuster at the back sets the headband, and the muffs should seal fully around each ear with no gaps under your glasses arms.Dial in the fit in four steps:
- Adjust the rear ratchet until the headband is firm but not pinching.
- Set the shell height so the brim clears your brow by roughly a finger's width.
- Rotate the earmuffs so the cushions seal all the way around each ear.
- Test the visor detents — it should stay up when parked and down when working.
Forestry helmet or arborist climbing helmet — which do you need?
Ground cutters want a vented forestry helmet that pops off if snagged; climbers who ascend on rope want an EN 12492 arborist helmet with a chin strap that stays on in a fall. The two are built for opposite failure modes and are not interchangeable.If your work involves ropes, spikes, or a harness — the domain of pole saws and aerial pruning — choose a retained climbing helmet. For felling, bucking, and limbing on the ground with a gas chainsaw, a standard vented forestry system is the right tool.
What makes one forestry helmet more comfortable than another?
Comfort comes down to weight, ventilation, and the suspension that holds the shell off your scalp, not the badge on the front. A well-balanced helmet with a wheel-ratchet harness and open vents feels light after an hour, while a bare pin-lock shell grows heavy and hot.The features that decide all-day comfort are listed below.
- A rear wheel or ratchet adjuster that fine-tunes the headband without removing the helmet.
- A six-point cradle suspension that spreads impact load, rather than a basic four-point band.
- Adjustable vents you can open in summer and close for warmth or electrical work.
- A replaceable terry sweatband that keeps sweat out of your eyes on a hot cut.
- Earmuff arms long enough to lift the cups clear of your ears when you pause.
Total weight typically runs 700–950 g, and every 100 g you shave off the shell is felt in your neck by the end of a firewood session — so a lighter vented system pays back on long days.
How do the earmuffs and visor attach to the shell?
Most forestry earmuffs and visors clip into a pair of 30 mm accessory slots moulded into the sides of the shell, the industry-standard mount that lets you swap parts without tools. Slide the muff arms in until they click, then hang the visor frame on the same or a dedicated slot.Matching the slot standard is what makes a "system" work. A Husqvarna, Oregon, or 3M PELTOR muff built for 30 mm slots drops straight onto a compatible shell, while a proprietary integrated helmet uses its own captive mounts instead. If you are building a setup around a bare shell such as the Ergodyne Skullerz, confirm it has the accessory slots before buying clip-on muffs. Getting the pairing right is covered further in the best chainsaw helmets roundup.
Can you wear glasses, a beard, or a liner under a chainsaw helmet?
You can wear prescription or safety glasses under a chainsaw helmet, but the earmuff cushions must still seal against your skull without the glasses arms breaking the seal. A thick beard, a hood, or a bulky winter liner can also lift the muffs and leak noise, so re-check the seal after adding any layer.Thin-armed safety glasses that pass through the muff cushion cleanly are the usual answer for spectacle wearers. In cold weather a thin skull cap or an approved winter liner is fine, but a heavy hood under the shell throws off both the fit and the impact protection. The principle is simple: anything that stops the muffs sealing quietly cancels part of the hearing protection you paid for, so re-seat the cups and re-check the fit whenever you add a layer.
How do you set up a new forestry helmet out of the box?
Set up a new helmet by fitting the headband first, then the muffs, then the visor, so each part references the one below it. A few minutes spent adjusting on day one prevents a poorly sealed, tipping helmet for the whole life of the shell.Work through the set-up in order:
- Loosen the rear ratchet fully, drop the shell on level, and tighten until the band is firm but leaves no red mark.
- Set the shell height on its internal notches so the brim clears your brow by about a finger's width.
- Swing the earmuffs down and rotate each cup until the cushion seals all the way around the ear.
- Check the visor drops smoothly and holds both the parked-up and working-down positions on its detents.
- Note the moulding date inside the shell and mark the day you put it into service so you can track its roughly five-year life.
How do you maintain and replace a chainsaw helmet?
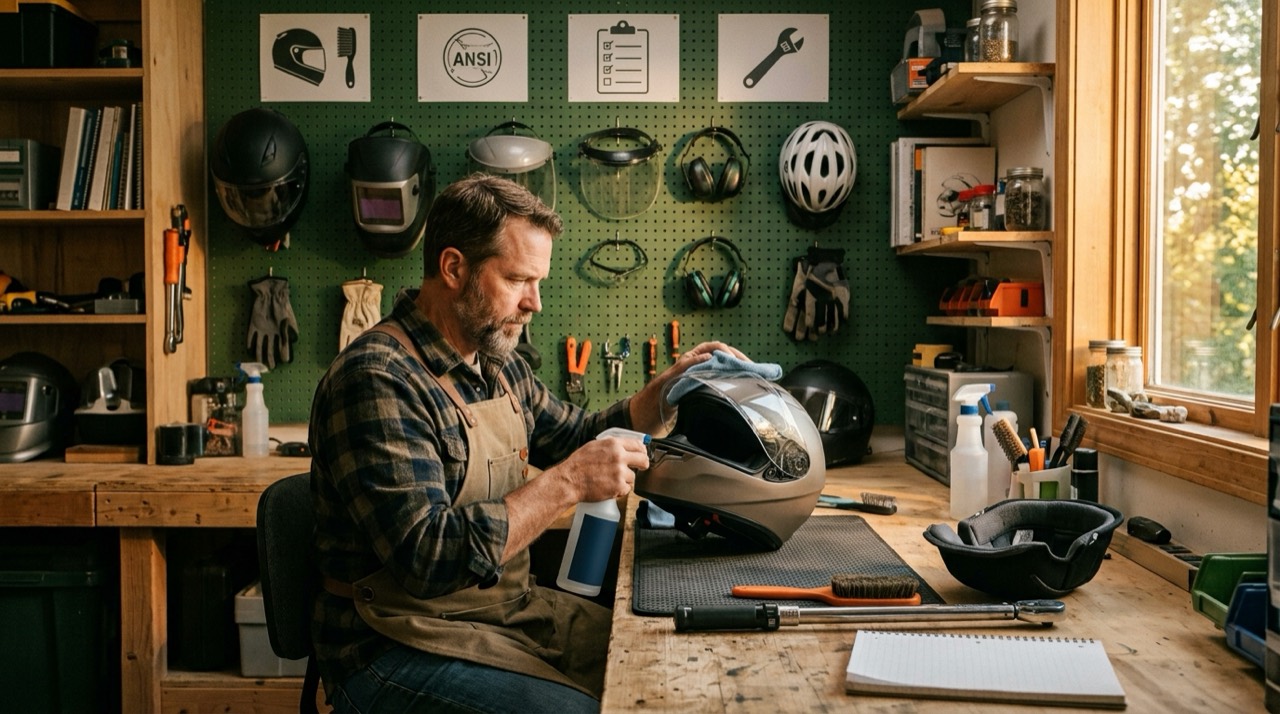
Replace the shell around five years from its moulding date (stamped inside), the suspension every 12 months, and any helmet immediately after a real impact — even if it looks fine. UV light quietly weakens the plastic long before cracks appear.Wipe the shell and visor with mild soapy water rather than solvents, store the helmet out of direct sun, and swap the muff cushions when they harden and stop sealing. A helmet that has taken a hard knock has done its job once and should be retired. Compare complete, ready-to-wear systems in our best chainsaw helmets roundup, and round out the rest of your kit from the Safety Gear & Accessories hub.
What common mistakes do people make with chainsaw helmets?
The most common mistakes are wearing an out-of-date shell, leaving the earmuffs parked up while cutting, and treating a mesh visor as full eye protection. Each one quietly removes protection the helmet is meant to give.The errors worth avoiding are listed below.
- Running a shell years past its moulding date because it "still looks fine."
- Cutting with the muffs flipped up or the visor parked, so the protection is on your head but not in use.
- Relying on the mesh visor alone and skipping sealed glasses for the fine dust it lets through.
- Leaving the helmet on a sunny dashboard, where UV and heat age the plastic fastest.
- Buying a plain construction hard hat and assuming it equals a forestry system, when it lacks the ear and face cover.
Building the habit of a ten-second check — date, seal, visor down — before each session catches nearly all of these. For the wider kit around your head and hands, see chainsaw chaps and PPE, cut-resistant work gloves, and the Safety Gear & Accessories hub.