
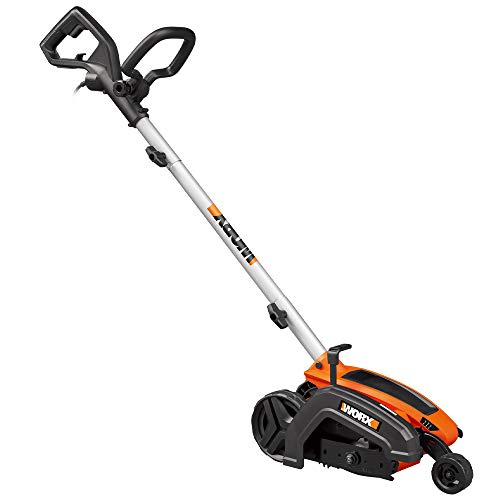
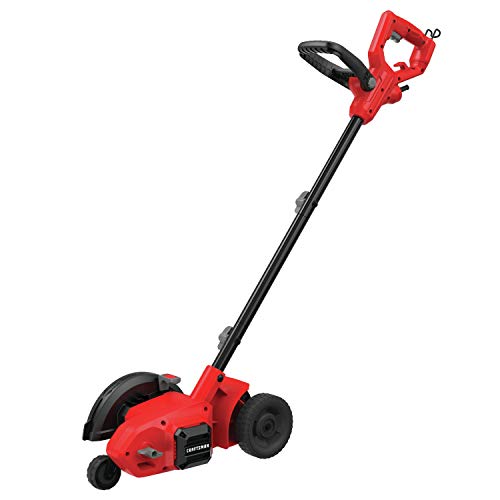

How do I safely replace a lawn edger blade?
Replacing a lawn edger blade safely starts with cutting all power to the tool before your hands go anywhere near the blade. Unplug a corded edger, remove the battery from a cordless model, or disconnect the spark-plug wire on a gas edger, so it cannot start accidentally.Work these steps in order:
- Cut the power — unplug, remove the battery, or pull the spark-plug wire.
- Put on gloves, since even a worn blade has sharp and jagged spots.
- Locate the retaining nut, bolt, or clip holding the blade to its arbor.
- Hold the blade steady and loosen the fastener with the correct wrench.
- Remove the old blade and note which way it faced.
- Fit the matching new blade in the same orientation, following any direction arrow.
- Tighten the fastener firmly, then restore power and test at a shallow depth.
How do I choose the right replacement blade?
Choose a replacement blade that matches your edger's brand, model, and blade diameter, because size and mounting-hole patterns vary between tools. Check your manual or the part number stamped on the old blade, and buy the manufacturer's blade or a clearly compatible aftermarket equivalent. A mismatched blade can sit off-center, vibrate, or fail to seat on the arbor.When should a blade be replaced rather than sharpened?
Replace the blade — rather than trying to sharpen it — when it is bent, cracked, heavily worn, or missing material, since edger blades are inexpensive consumables not designed for repeated sharpening like a mower blade. Signs it is time include ragged cuts, extra vibration, and the tool bogging down at a depth it used to handle. A fresh blade restores full cutting performance for a fraction of a new machine's cost. For help picking a depth-adjustable model with easy blade access, see our lawn edger guide.What tools and parts do I need to change an edger blade?
Changing an edger blade usually needs only a wrench or socket that fits the retaining nut, a pair of work gloves, and the correct replacement blade for your model. Some tools include a blade wrench or use a tool-free spindle lock, so check the manual before buying anything.Gather these before you start:
- The matching replacement blade — same brand, model, diameter, and mounting-hole pattern.
- A wrench or socket — sized to the retaining nut or bolt on the arbor.
- Work gloves — even a worn blade has sharp, jagged edges, so sturdy work gloves protect your hands.
- A block or clamp — to hold the blade still while you loosen a stubborn fastener.
- Penetrating oil — optional, to free a nut seized by rust or packed grit.
Having the right blade in hand first saves a stalled job; confirm the part number stamped on the old blade, or listed in your manual, before you order.
What are the signs a blade needs replacing?
The clearest signs an edger blade needs replacing are ragged or torn cuts, extra vibration, and the tool bogging down at a depth it used to handle easily. A visibly bent, cracked, or worn-down blade should be swapped without waiting for performance to slip.A sharp blade slices a clean vertical wall; a dull or damaged one tears the edge, throws more debris, and forces the motor to work harder, which drains a battery or strains a gas engine faster. Because an edger blade is an inexpensive consumable, replacement is the fix rather than repeated sharpening — unlike a mower blade, it is not built to be re-ground many times. Catching wear early also protects the arbor and bearings from the extra vibration a failing blade creates.
How do I install the new blade the right way?
Install the new blade in the same orientation as the old one, seated flat on the arbor, with the retaining fastener tightened firmly — an off-centre or reversed blade vibrates, cuts poorly, or can work loose. Note any direction arrow on the blade before you fit it.Follow these steps with the power fully disconnected:
- Set the new blade against the arbor exactly as the old one sat, matching any rotation arrow.
- Check it seats flat and centred on the mounting boss, with no gap or tilt.
- Thread the nut or bolt on by hand first to avoid cross-threading.
- Tighten firmly with the wrench while holding the blade still.
- Spin the blade by hand to confirm it turns true, then restore power and test at a shallow depth.
If the new blade wobbles or the tool vibrates more than before, stop and re-check that it is centred and the fastener is tight. For choosing a model with easy, tool-free blade access next time, see our lawn edger guide.


