



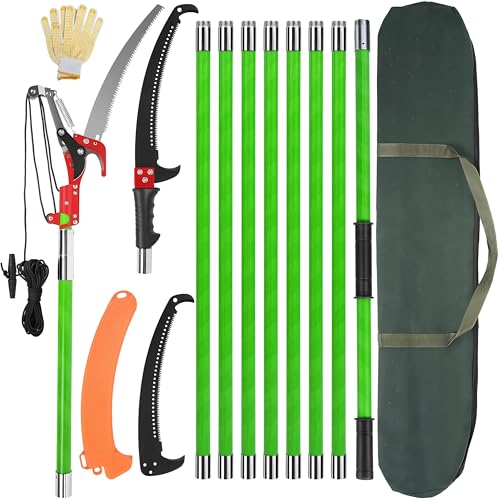
Where should you cut a branch with a pole pruner?
Cut just outside the branch collar — the swollen ring where the limb meets the trunk — never flush to the bark. The collar holds the tree’s natural healing tissue; leaving it intact lets the wound seal over, while a flush cut removes it and invites decay. Aim the pruner head or saw so the cut sits a fraction of an inch beyond that raised ring, angled to shed water away from the trunk.Stubs are the opposite mistake. Leaving a long stub past the collar gives pests and rot a foothold and stops the wound closing. On a pole, where precision is harder, take your time lining up the head before you pull — a well-placed cut with a manual tool heals as cleanly as one made with hand pruners at close range.
How do you make a clean cut on the first pull?
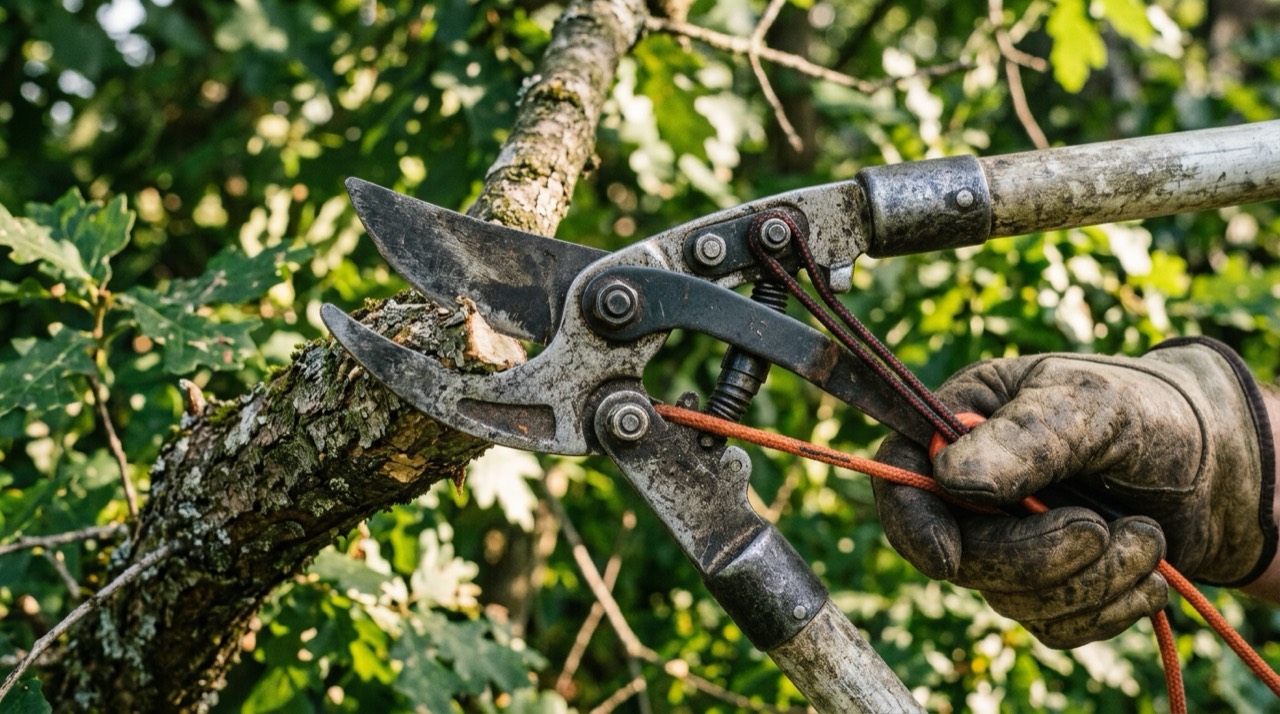
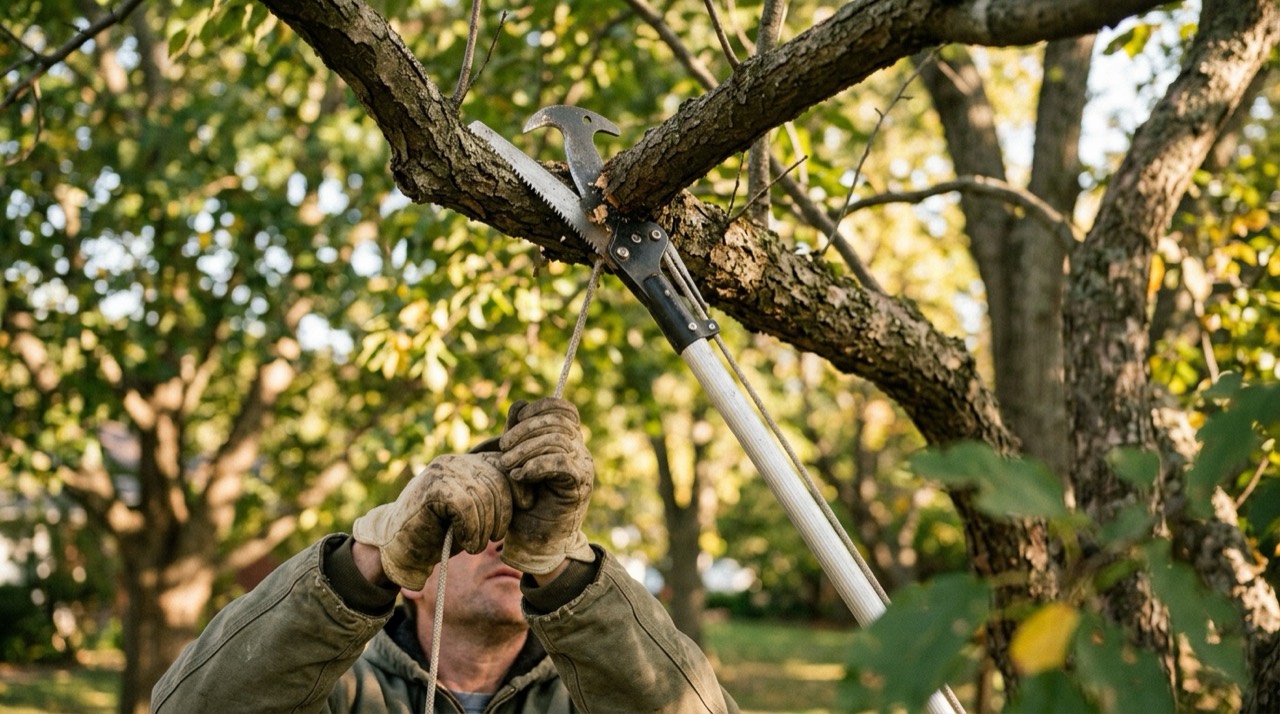
Make a clean cut by lining up the head before you apply force, cutting just outside the branch collar, and completing the cut in one committed stroke rather than sawing back and forth over a half-cut. A rushed, badly placed cut tears bark and stalls halfway.With the rope pruner, hook the blade over the branch first and settle it against the collar, then pull the rope in one firm, full stroke so the bypass blade slices through in a single scissor action. A tentative half-pull leaves the branch crushed in the jaws. With the saw blade, set the teeth on the top of the branch, draw a few light strokes to cut a starting notch so the blade cannot skate, then lengthen into full pull-strokes and let the blade’s weight do the work.
Positioning your body is half the battle overhead. Stand so the pole is as near vertical as the branch allows — the more the pole leans, the more it flexes and the harder the head is to hold on line. Keep both hands spread on the shaft, brace the butt against your hip, and watch the head, not your hands, so you can correct the blade’s line as it bites.
How do you drop a heavy limb without tearing the bark?
Use the three-cut method so the limb’s weight cannot peel bark down the trunk. A heavy branch sawn in one pass from the top will split and strip bark as it falls, wounding the tree far below the cut. The three-cut method prevents that and is the single most important pole-saw technique to learn.- Undercut the limb about 12 inches out from the trunk, sawing a third of the way up from below.
- Overcut a couple of inches further out, from the top down, until the limb drops cleanly at the undercut.
- Remove the remaining stub with a final cut just outside the branch collar.
This sequence lets the heavy section fall on the first two cuts, leaving a short, light stub you can trim precisely. It works the same whether you are using a pole saw or a ground-level pruning saw.
Which pruning cuts should you avoid?
Avoid flush cuts, stub cuts, topping, and lion-tailing — four cuts that damage a tree even when they look tidy from the ground. Each removes the wrong tissue, or too much of it, leaving the tree weaker and slower to heal.- Flush cuts remove the branch collar along with the branch. Without the collar the tree cannot seal the wound, so decay spreads into the trunk. Always cut just outside the collar.
- Stub cuts leave a length of dead wood past the collar. The stub dies back and becomes an entry point for rot and insects; take the branch back to the collar instead.
- Topping — cutting main limbs back to stubs to reduce height — forces weak, crowded regrowth and ruins the tree’s structure. Reduce a tree by removing whole branches at their origin, not by heading everything back.
- Lion-tailing — stripping the inner growth and leaving foliage only at the branch tips — overloads the ends and makes limbs prone to breaking. Thin evenly along the branch instead.
Over-pruning is the quiet version of all four: never remove more than about a quarter of a tree’s live canopy in one season. A pole pruner makes it easy to reach far and cut a lot, so restraint is what keeps the tree healthy.
When is the best time to prune trees from the ground?
Prune most deciduous trees in late winter while they are dormant, when cuts heal fast and the bare canopy makes branches easy to see and reach. Dormant pruning also spares you the weight of leaves and slows disease spread. Dead, damaged, or dangerous limbs, though, can and should come off at any time of year.Timing varies by species. Spring-flowering trees are best pruned right after they bloom so you do not remove next season’s buds, and some trees, such as maples and birches, bleed sap heavily if cut in late winter and are better pruned in summer. When in doubt, remove deadwood freely and save heavy structural cuts for the dormant season.
How do you sharpen and maintain a pole-saw blade and pruner head?
Keep the saw blade sharp, the pruner blade clean, and the rope and pulley free-running to cut with less effort and protect the tree. A dull saw blade tears rather than slices and forces you to push harder overhead, which is both tiring and dangerous. Most curved pole-saw blades are impulse-hardened and are cheaper to replace than to sharpen; standard blades can be touched up with the right files and sharpening tools.Maintenance is quick but essential. Wipe sap off the bypass pruner blade with resin remover so it keeps closing fully, add a drop of oil to the pivot and pulley, and check the cutting rope for fraying before each session — a rope that snaps mid-cut at height is a hazard. Replace worn ropes and blades promptly rather than fighting a tool that no longer cuts.
How do you keep the cutting rope and pulley running smoothly?
Keep the rope and pulley running smoothly by checking the rope for fraying, seating it correctly on the pulley, and adding a little light lubricant to the pulley wheel so it spins freely. A dragging pulley or a worn rope turns an easy cut into a fight.Inspect the cutting rope before each session, running it through your gloved hand to feel for fraying, glazing, or thin spots. A rope that fails mid-cut at height can drop the head or throw you off balance, so retire a worn one early rather than pushing your luck. When you fit a new rope, match the original diameter and follow the same path over the pulley and through the head — a rope that jumps the pulley groove binds and slips.
The pulley itself needs only occasional care. Wipe grit and dried sap off the wheel, check it still spins without catching, and add a touch of light oil to the axle. Avoid heavy grease, which traps dust and gums the wheel. On heads that use a lever or gear rather than a rope, the same principle holds: keep the pivot clean and lightly oiled so your pull goes into the cut, not into friction.
How do you free a stuck blade or jammed pruner head?
Free a stuck saw blade by easing the branch’s weight off the cut, never by yanking the pole, and clear a jammed pruner head by opening it fully and checking the rope has not left the pulley. Forcing either risks bending the blade or snapping the rope.A saw blade usually binds because the branch is pinching the kerf closed as it sags — the same reason the three-cut method exists. If the blade traps, stop sawing, support or lift the limb slightly to open the cut, and work the blade back out along its own line. On a heavy limb, an undercut first stops the kerf closing at all. Never wrench the pole sideways to free a blade; a long lever bends a blade easily.
A rope pruner jams for one of two reasons: the branch is too thick for the bypass head, or the rope has slipped off the pulley. If the head will not close, back the blade off the branch, confirm the rope sits in the pulley groove, and switch to the saw blade if the wood is simply too big. If a telescoping section has seized, retract it gently and clean grit from the collar rather than forcing it.
How long should a manual pole pruner last?
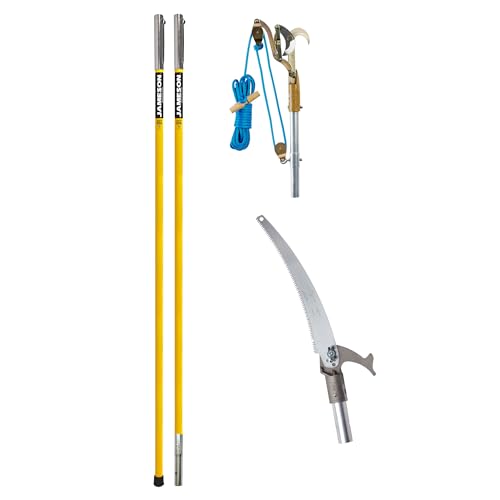
A well-made manual pole pruner should last a decade or more, because its only real wear parts — the rope and the saw blade — are cheap and replaceable, and the pole and head have nothing to burn out. Cheap tools with sealed heads last least.Longevity comes down to serviceability and care. A professional fiberglass system with a rebuildable pulley head can be kept cutting almost indefinitely by replacing ropes and blades and cleaning the pivot, while a budget tool whose head cannot be opened is finished when that head wears. Store the tool dry, keep the blade sharp and the rope sound, and a good pole pruner will outlast several powered tools bought over the same years.
How should you store and transport a manual pole pruner?
Store a manual pole pruner clean, dry, and collapsed, hung horizontally or stood upright out of the weather. Retract telescoping sections and lock them, wipe metal parts to prevent rust, and sheath or retract the saw blade so it cannot catch anyone. Damp storage rusts blades and swells locking collars, so a dry shed or garage wall is ideal.Transport needs the same care. Collapse the pole fully, secure the head so it cannot swing, and cover the saw teeth — a pole pruner is long and awkward, and an exposed blade in a car or truck bed is an easy way to get cut. A few seconds of tidy-away each time keeps the tool safe and ready for the next job.