



How do you sharpen bypass loppers?
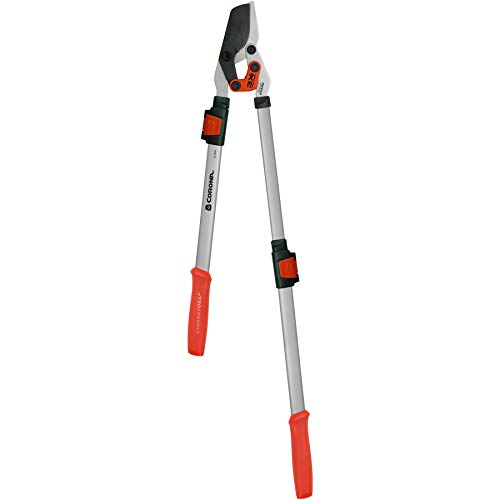
Sharpen bypass loppers by filing only the outer, beveled face of the single cutting blade at its original angle, then removing the burr from the flat inner face with a light pass. A bypass lopper cuts like scissors, so only the one beveled blade is sharpened; touching the flat face throws off the scissor fit.
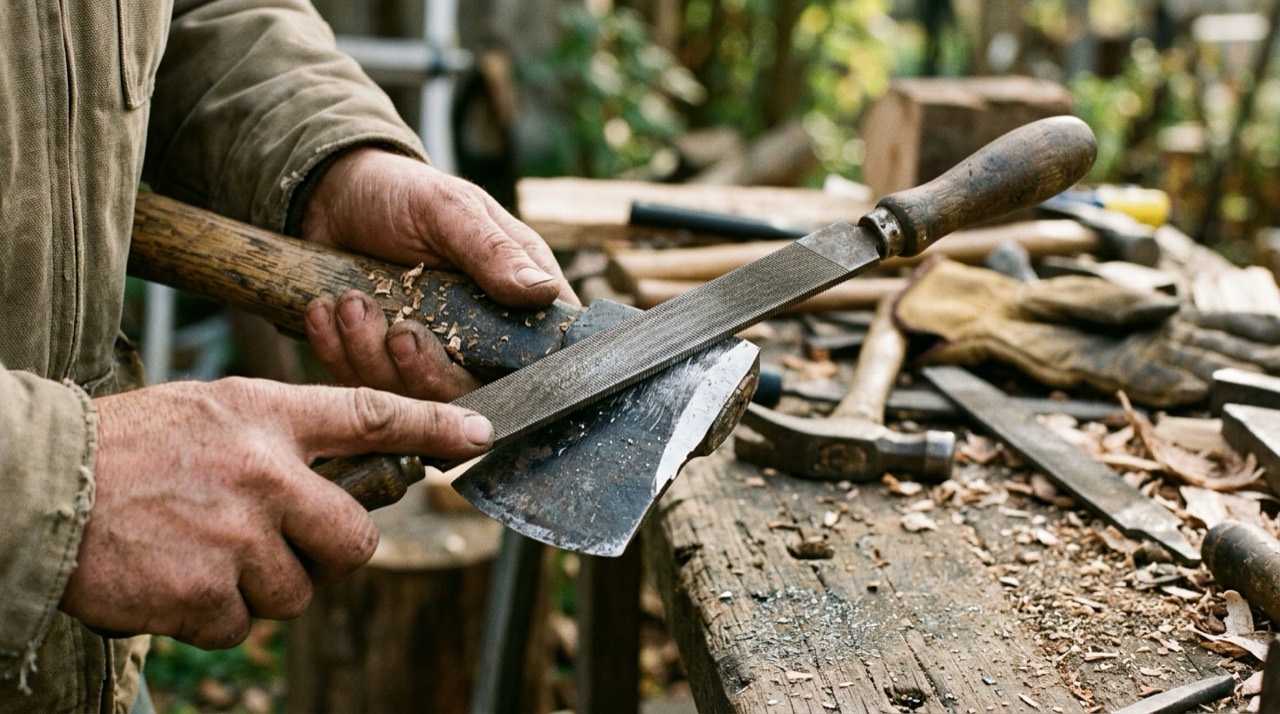
Work the edge in steady strokes away from your body, following the factory bevel from the base of the blade to the tip. The right kit is simple and covered in our sharpening files and tools guide.
- Clamp or steady the open head so the beveled blade faces up.
- Run a mill file or a coarse-to-fine diamond stone along the bevel at the original angle, in one direction.
- Keep the flat inner face flat; lay the stone almost level and take one or two light passes only to lift the burr.
- Wipe the blade, then close the loppers slowly to check the blades still pass cleanly with no gap.
How is sharpening anvil loppers different?
Sharpen anvil loppers on both bevels of the single blade, because the blade is a symmetric wedge that drives straight down onto the flat plate rather than passing a second blade. Balance the two bevels so the edge stays centered over the anvil, or the blade will land off-line and crush instead of cut.
Keep the anvil plate itself straight and undamaged. A nicked or bent plate stops the blade seating fully, so the lopper mashes the branch rather than parting it. File out small nicks in the plate and check the blade meets it evenly along its length. Ratchet anvil loppers sharpen the same way; the ratchet is just a force-multiplying mechanism, not part of the edge.
What tools do you need to sharpen loppers?
You need only a file or stone, a way to steady the head, and basic protection, so lopper sharpening is a cheap, low-equipment job. The tool that suits you depends on how dull the blade is: a file removes metal fast on a neglected edge, while a stone refines a working edge that only needs a touch-up.
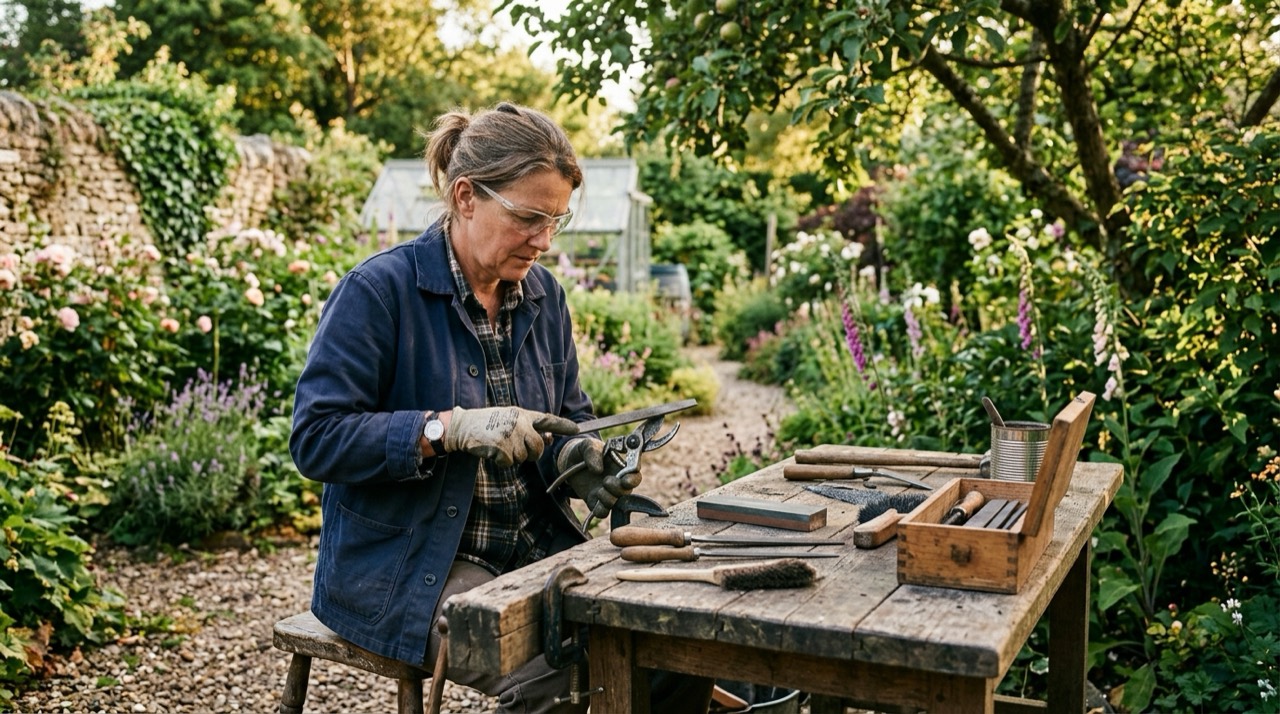
The kit that covers almost every lopper is listed below.
- A mill bastard file for fast metal removal on a dull or nicked bevel.
- A coarse-to-fine diamond stone or sharpening plate for refining and honing the edge.
- Cut-resistant work gloves, since you are handling a blade you are trying to make sharp.
- A drop of light machine oil for the pivot and blade after sharpening.
- A rag and a rust eraser or fine steel wool to clean the blade first.
A bench vice or a clamp helps by holding the open head steady, but steadying it against a solid surface works too. The full range of files and stones is covered in our sharpening files and tools guide.
What angle should you sharpen lopper blades at?
Follow the factory bevel, which on most loppers sits somewhere between about 20 and 30 degrees, rather than inventing a new angle. Matching the original grind keeps the edge geometry the manufacturer designed for the steel, and it removes the least metal, so the blade lasts through more sharpenings.
Find the existing angle before you start. Lay the file flat on the bevel and rock it until the whole beveled face sits against it, and that is your angle; a felt-tip mark across the bevel that the first stroke wipes clean confirms you are on the face rather than lifting the edge. A shallower angle than the factory grind cuts keener but chips and dulls faster on wood, while a steeper angle lasts longer but drags through the cut, so the factory bevel is the balance to keep. Hold that angle consistently along the whole blade, from base to tip, so the edge stays even rather than scalloped.
How do you remove rust and sap from loppers?
Remove sap with a solvent and rust with an eraser block or fine abrasive before you sharpen, because both hide the true edge and add drag to every cut. Dried sap is sticky and traps moisture against the steel, so cleaning it off is as much about preventing rust as about restoring a smooth cut.
Work through the blade in order.
- Wipe fresh sap off with a rag; for hardened sap, use a citrus or turpentine-based solvent and a plastic scraper.
- Take rust off with a rubber rust-eraser block, fine steel wool, or fine wet-and-dry paper, working along the blade rather than across it.
- Dry the blade fully, then sharpen the bevel as usual.
- Finish with a light film of oil to keep sap and rust from returning.
Cleaning after every use, rather than once a season, keeps this step to a quick wipe instead of a scrubbing job, and it protects the coating on models that have one.
Why do bypass loppers tear instead of slice?
Bypass loppers tear when the blade is dull, the pivot is loose, or sap and rust have gummed the action, so the two edges no longer pass cleanly. A tearing cut crushes bark and stresses the plant, and it usually points to one of a few quick fixes rather than a new tool.
The common causes and their fixes are listed below.
- Dull bevel: file the outer face at the factory angle to restore the slicing edge.
- Loose pivot: tighten the pivot bolt until the blades pass firmly with no gap.
- Sap or rust buildup: clean the blades and oil the pivot so the action runs smooth.
- Sprung blade from overloading: replace a bent blade, since filing cannot true it.
Catching a tearing cut early, before you force more branches through it, keeps a good lopper serviceable for years.
How do you clean, oil, and tighten loppers?
Clean sap and rust off the blades, oil the pivot, and tighten the pivot bolt until the head cuts firmly without binding. Dried sap adds friction and hides rust, a dry pivot makes every cut harder, and a loose pivot lets bypass blades separate mid-cut so they chew instead of slice.
A short routine keeps any lopper cutting well.
- Wipe the blades after use, and remove sticky sap with solvent or a rust eraser.
- Apply a drop of light machine oil to the pivot and blade, then work the handles to spread it.
- Tighten the pivot bolt in small steps until the head is firm but still opens smoothly.
- Store the loppers dry and closed, indoors, so the edge and pivot do not corrode.
Do this alongside the rest of your outdoor hand and cutting tools and the edge will stay sharp far longer between filings.
How do you take a lopper apart to service it?
Undo the pivot bolt, separate the blade from the handle head, clean and inspect both, then reassemble and re-tension the pivot, which lets you service or replace parts a surface clean cannot reach. Full disassembly is only occasionally needed, but it is the difference between a lopper you rebuild and one you throw away.
Take it apart in a set order so it goes back together correctly.
- Note how the blade, spring, and any washers sit before you undo anything, or photograph the joint.
- Loosen and remove the pivot bolt and nut, keeping the small parts together in a tray.
- Separate the blade from the counter-blade or anvil plate and clean sap and rust from both faces and the pivot.
- Inspect the blade for chips, the plate for flatness, and the spring for fatigue, and replace any worn part on a serviceable model like a Felco or Corona.
- Reassemble in reverse, oil the pivot, and tighten the bolt in small steps until the head is firm but opens smoothly.
Not every lopper is designed to come apart, and forcing a riveted joint can ruin it, so check that the pivot is a bolt rather than a peened rivet before you start.
When should you replace blades instead of sharpening?
Replace a blade when it is chipped past the bevel, deeply pitted with rust, or bent, rather than trying to file it back. On a serviceable lopper such as a Felco or a Corona with a replaceable blade, swapping the blade is quick, cheap, and restores a factory edge that repeated hard filing cannot.
Signs a blade is beyond sharpening are worth knowing before you waste time on it.
- Chips or nicks deeper than the bevel, which leave gaps in the cut.
- Rust pitting along the edge that returns soon after sharpening.
- A bent blade or anvil plate that will not seat evenly.
Bypass loppers with bonded, non-replaceable blades are usually retired once the edge is spent, which is one reason serviceable models earn their higher price over years of use.