



How do you file the rakers on a chainsaw chain?
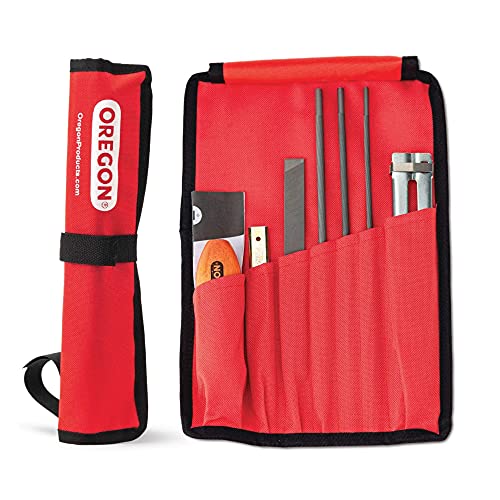
Filing the rakers, also called depth gauges, sets how deep each cutter bites, and it takes only a depth-gauge tool and a flat file. The depth-gauge tool is a slotted plate that lays over each cutter; any part of the raker poking above the slot is filed off, which is what keeps the chain feeding without grabbing.Rakers are the small fins in front of each cutting tooth. As you sharpen the cutters lower over their life, the rakers must come down too, or the tooth cannot reach the wood and the chain feels dull however sharp the edge. The steps below set them correctly.
- Secure the saw, remove the battery or spark-plug boot, engage the chain brake, and wear gloves.
- Lay the depth-gauge tool flat across the chain so one raker sits in its slot.
- File the exposed part of the raker flat with a flat file until it is level with the tool.
- Lift the tool and lightly round the front edge of the raker so it feeds smoothly.
- Move the tool along and repeat on every raker, keeping them all the same height.
How low should you file chainsaw rakers?
Chainsaw rakers are usually filed to sit about 0.025 inch (0.65 mm) below the top plate of the cutter for general cutting, with a shallower setting for hard or frozen wood. The depth-gauge tool sets this for you: file whatever stands above the slot flush, and the tool leaves the correct height.The right depth balances speed against control. Set the rakers too high and the cutter cannot reach the wood, so the chain feels dull however sharp the edge; set them too low and each tooth takes too big a bite, making the chain grab and kick. Hardwood and frozen timber cut best with a slightly shallower depth so the saw stays smooth, which is why many depth-gauge tools carry both a standard and a hard-wood slot. The common settings are set out below.
| Cutting condition | Typical depth-gauge setting |
|---|---|
| General softwood cutting | ~0.025 in (0.65 mm) below the top plate |
| Hardwood or frozen wood | Shallower (use the hard-wood slot) |
| Ripping or milling | Per the milling chain's chart |
How often should you file the rakers?
File the rakers far less often than the cutters, usually once every few sharpenings rather than every touch-up. The cutters lose height a little each time you file them, and only after several rounds do the rakers stand proud enough to need lowering again.A simple rhythm is to check the depth gauges with the tool every second or third sharpening and file only those standing above the slot. Checking costs nothing and stops you either lowering the rakers too soon, which wastes them, or leaving them too high for too long, which makes the chain feel blunt. Keeping the whole chain even matters here: file every raker to the same height, just as you keep every cutter the same length.
What happens if the rakers are too high or too low?
Rakers that are too high stop the chain biting, so it rides on the wood and cuts slowly even with a keen edge; rakers filed too low let each tooth take too deep a bite, making the saw grab, kick, and cut roughly. The gap between the two is small, which is why the depth-gauge tool matters.If a freshly sharpened chain still cuts slowly, high rakers are the usual cause, not the cutters. If a sharp chain snatches and jumps, the rakers have been taken down too far and the chain is best replaced rather than run. Take off only what the depth-gauge tool exposes, and round the front edge of each raker afterward so it feeds smoothly. A matched depth-gauge tool and flat file makes this hard to get wrong.
Set the rakers only every few sharpenings, not every time you touch up the cutters, and use the standard slot for general cutting or the shallower setting for hard, frozen wood. The usual result is a raker about 0.025 inch (0.65 mm) below the top plate. Filing the rakers too low makes the chain grab and kick, so take off only what the tool exposes. The complete sharpening sequence is in our chainsaw sharpening guide, and a matched depth-gauge tool and flat file makes the job foolproof. These are general figures, not tested measurements; follow your chain maker's chart.

